
Hi Everyone,
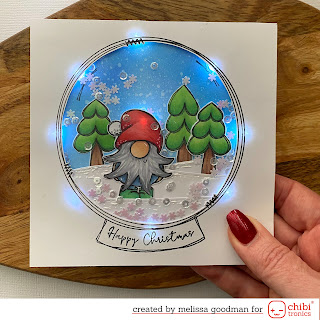
For today's card I have I have created using Chibitronics LED Stickers.
To be honest I wasn't sure how this card was going to work, but I am so glad I stuck with it and got it completed.
Ingredients
Stamp Set: Merry & Bright
Medium: Copic Markers
Sentiment: Included in Stamp Set
Electronics: Chibitronics LED Stickers, Chibitronics Fabric Conductive Tape & 2016 Battery
Card Stock: X-Press It Blending Card, Acetate
Background; Distress Oxide (Salty Ocean)
Other: Assorted Sequins, White Pen, Glossy Accents, Glitter
Note: I have used the Fabric Conductive tape as I find it easier to use and it is less fragile.
1. Create card front
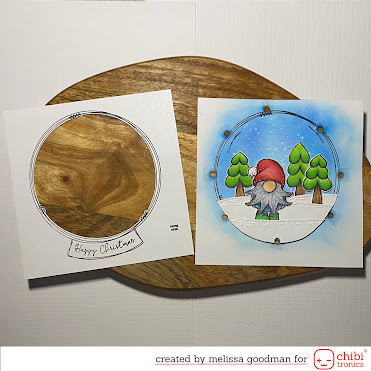
Firstly, I have stamped the images (Gnome & Trees) onto X-Press It Blending Card and coloured them with Copic Markers. I fussy cut around the images and set them aside.
I then stamped the snow globe onto white card. Trimmed it to 13 x 13cm. I repeated this onto a second piece of card in the same position.
To create the base card, I used the second piece and coloured the background with Distress Ink and cut the snow banks from white card. Adhered then onto the base added Glossy Accents & Glitter and heat set it. I finally adhered the coloured images to this piece.
I have punched small circles where I wanted the led lights shine through. (I have glued a small piece of acetate over each hole, so the shaker mix doesn't escape)
Acetate was added to the back of the snow globe piece and the sentiment was stamped onto the front.
For the Shaker component, I have used various sequins.
Both pieces were adhered together using foam tape.
2. Circuit
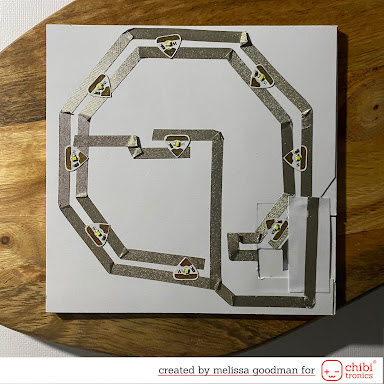
The base for this circuit is 13x13cm. I traced where from the card front where I wanted the lights to go.
I like the batteries to be replaceable, so I have created a sliding holder for the battery so it can be changed when needed.
For this circuit, I have used the Chibitronics Fabric Conductive tape, Chibitronics LED White Stickers and a 2016 battery. to light this card up you press the batter compartment.
3. Time to Light up the card

To light up this card, press at the 'press here' spot with pressure from the front and the back of the card.
I hope you have found this tutorial useful. If you have any questions, please do not hesitate to ask.
Until next time
Melissa
xxxxx


I absolutely LOVE your work!!! I was wondering if you might be induced to create a tutorial on how you make your batteries removable? I am not quite understanding how it is that they fit with the rest of the card or how the copper connects and would love to see how you do this. I have been wondering myself about these cards I am creating, that will lose their effect as soon as the battery dies. Such a shame. Your method would be the answer to my quandries.
ReplyDeleteHello
DeleteSorry I have just seen your comment. Yes I can do a tutorial and more in depth of how I do the removable battery holder in my next card I do. This will be in January, so not long away.
thank you for your kind words, I am glad you like this card xx
Thank you. I am so looking forward to this video. I have been looking at all of your cards. You are so talented!!!
ReplyDelete