Showing posts with label Stuff-Deluxe. Show all posts

Sunday, March 5, 2023

Zebra & Mouse

 Hi Everyone,

For today's card I have used a digital stamp from Stuff Deluxe.


Ingredients

Image:  Zebra & Mouse

Medium:  Copic Markers

Sentiment:  from stash

Card Stock:  X-Press It Blending Card

Border:  Copic Black Multi Liner Pen

Other:  Sakura White Gelly Roll 08 Pen


Until next time

Melissa

xxxxx

Wednesday, June 8, 2022

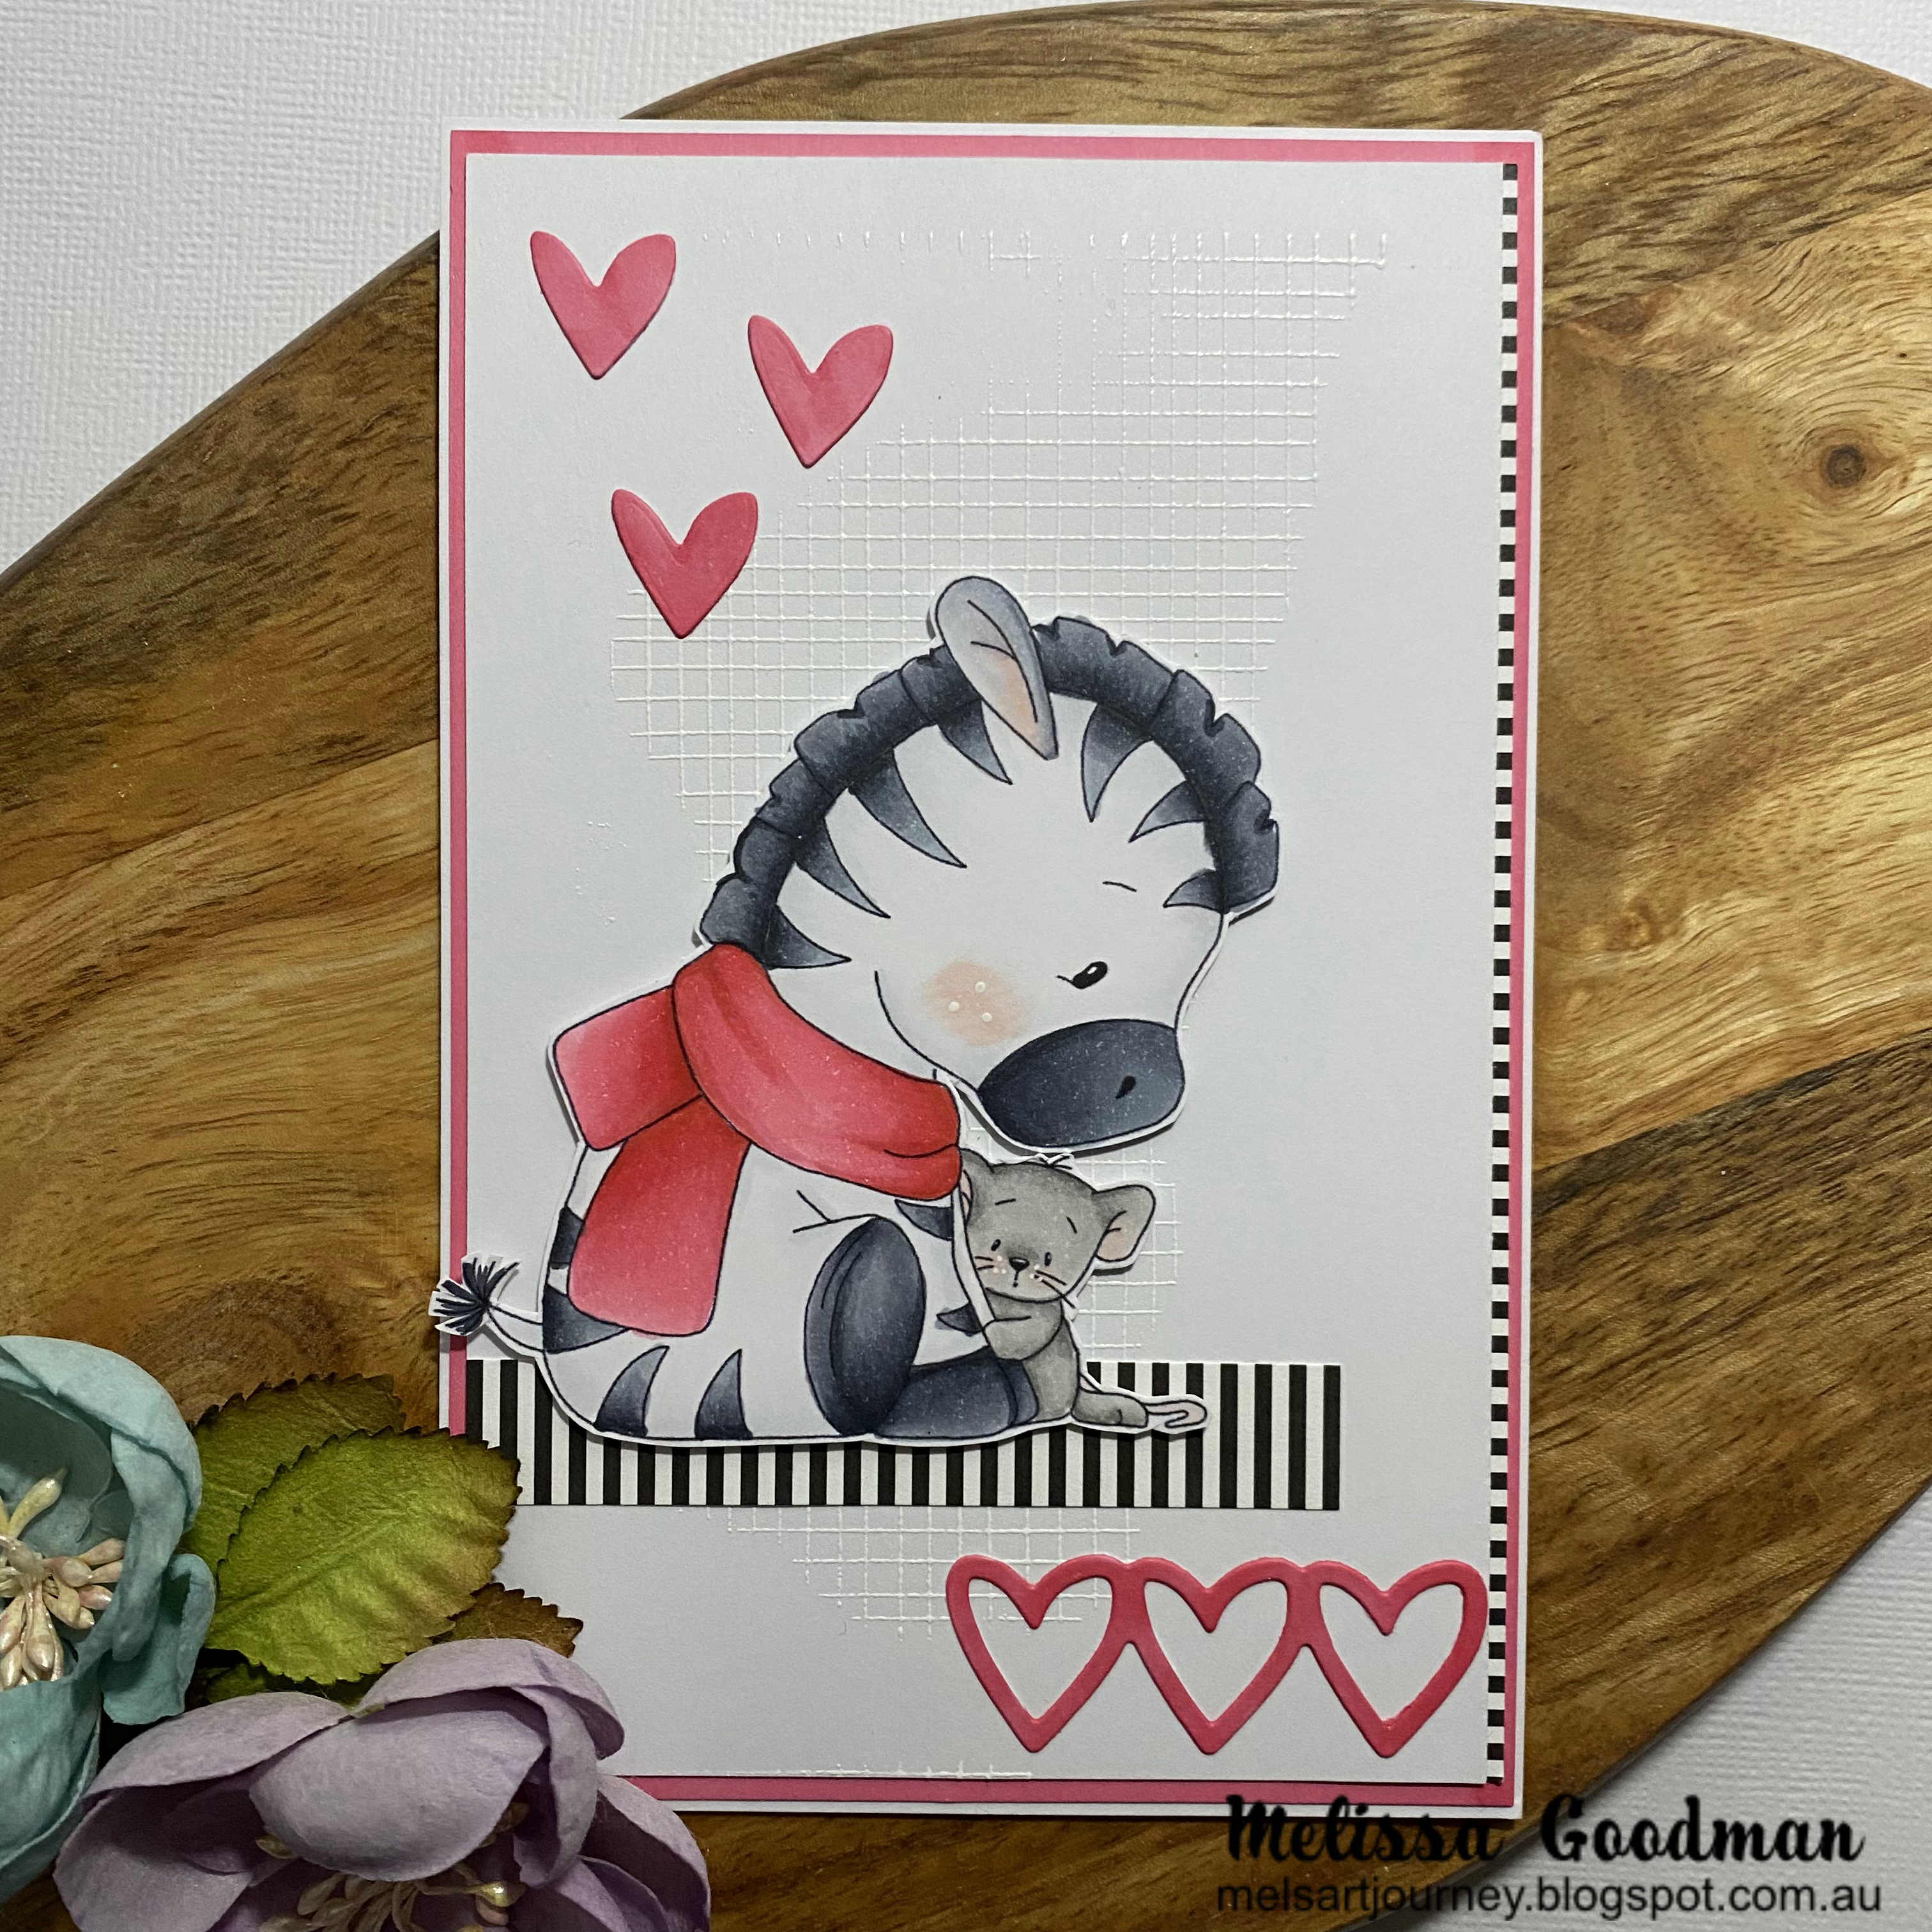
Zebra & Mouse

 Hi Everyone,

For today's card I have used an image from Stuff-deluxe.


Ingredients

Image:  Zebra & Mouse

Medium:  Copic Markers

(C9, C8, C7, C6, C1, C00, C00, R20, R27, R35, RV14, RV13, N5, N4, N3, N2, N1, N0)

Card Stock:  X-Press It Blending Card

Paper:  MFT B&W Stripes

Background:  Background Stamp, White Embossing  Powder

Hearts:  Kaisercraft die


Until next time

Melissa

xxxxx

Friday, April 8, 2022

Panda

 Hi Everyone,

For today's card I have used an image from Stuff-Deluxe and have used LED Stickers and Fabric tape from Chibitronices to light up the star.

Ingredients

Image:  Panda

Medium:  Copic Markers

Sentiment:  Printed from the Computer

Electronics:  LED Stickers - White, Fabric Conductive Tape, 2016 Battery

Card Stock:  X-Press It Blending Card

Border:  Copic Multi Liner Pen

Other:  White Gelly Roll 0.8 Pen, Liquid Sparkle, Glossy Accents


Method:

Firstly, I have printed the image and sentiment onto X-Press It Blending Card and coloured the image with Copic Markers.

I cut the card down to 14x10cm as this will be the finished size of my card.


2. Battery Holder


I used the Silhouette Cameo to cut the layer for the battery holder.  I glue 6 of these together for a 2016 battery.  I glue them together with Liquid glue and allow them to dry completely before completing the card.
I put plain card stock on the back of this to finish the card.

3. Circuit

The circuit has been made on another piece of white card which measures 14x10cm.
I have made a mark where I want the light to go.
I then mapped where I want the circuit to go, this makes it easier for me to complete the circuit.

4. Completing the Circuit
The Circuit has been completed using the Fabric Conductive Tape and LED Stickers.
This card works by pressing the battery compartment and the light will shine under the star.


5. Let's light this card Up!
This circuit uses a 2016 battery to power this card.


I hope you have found this tutorial helpful, please do not hesitate to ask any questions.


Until next time
Melissa
xxxxx


Wednesday, January 5, 2022

Henry

 Hi Everyone,

For today's card I have used an image from Stuff-Deluxe.

Ingredients

Image:  Henry

Medium:  Copic Markers

Sentiment:  Computer & Foiled

Card Stock:  X-Press It Blending Card, Black Card

Other:  White Pen, Glossy Accents, Fairy Drops


Until next time

Melissa

xxxxx

Tuesday, December 28, 2021

Ottfried

 Hi Everyone,

For today's card I have used an image from Stuff-Deluxe.

Ingredients

Image:  Ottfried

Medium:  Copic Markers

Sentiment

Card Stock:  X-Press It Blending Card

Background:  Creative Pad, Texture 3 Die & stamp (from stash)

Dies:  Mini Slimline

Other:  White Pen


Until next time

Melissa

xxxxx

Saturday, December 18, 2021

Reindeer Baby

 Hi Everyone,

For today's card I have used an image from Stuff-Deluxe.

Ingredients

Image:  Reindeer Baby

Medium:  Copic Markers

Sentiment:  Crisp Christmas

Card Stock:  X-Press It Blending Card, Sparkle

Background:  Stencil, White Paint, Dies (from stash)

Other:   White Pen, Fairy Drops


Until next time

Melissa

xxxxx

Sunday, December 12, 2021

Santa Squirrel

 Hi Everyone,

Well I found a new (to me) Digital Stamp store and yes I fell down a rabbit hole, lol.

I just love their images and yes I did purchase a few.

Ingredients

Image:  Santa Squirrel

Medium:  Copic Markers

Sentiment:   Crisp Christmas

Card Stock:  X-Press It Blending Card

Background:  Stencil, foil & CC Design Mushroom border

Other:    White Pen, Shimmer Pen, Glossy Accents


Until next time

Melissa

xxxxx