Showing posts with label Colorado Craft Company. Show all posts

Saturday, November 12, 2022

Twinkle Little Star

 Hi Everyone,

For today's card I have used a much loved stamp set (of mine) from Colorado Craft Company.

I have coloured the background then overlayed a piece of acetate over the top.

I love this effect and will definitely be doing this again.


Ingredients

Stamp Set:  Twinkle Little Star

Medium:  Copic Markers

Sentiment: Included in stamp set

Card Stock:  X-Press It Blending Card, Hammermill, Acetate

Ink:  MFT Extreme Black, White Stazon

Other:  White Gelly Roll 08 Pen, Shimmer Pen, Glossy Accents, Titanium White Amsterdam Ink


Until next time

Melissa

xxxxx


Tuesday, October 11, 2022

Sleeping Mouse

 Hi Everyone,

For today's card I have used a stamp Colorado Craft Company.

Ingredients

Stamp Set:  Sleeping Mouse

Medium:  Copic Markers

(Mouse:  C5, C4, C3, C2, C1, R20

Brown (Mushroom):  E47, E44, E43, E42

Red (Mushroom):  R29, R27, R35

Background:  B97, B95, B14, B12, B02, BG11, B00, B000)

Sentiment:  from stash

Die:  Grass & Coloured with ink

Card Stock:  X-Press It Blending Card

Ink:  MFT Extreme Black

Other:  Gelly Roll 08 Pen, Shimmer Pen, Glossy Accents, Masking Magic


Until next time

Melissa

xxxxx

Wednesday, October 5, 2022

Conga Line

 Hi Everyone,

I have recently become obsessed with Colorado Craft Company stamps.

They are super cute and so much fun to colour.  I am slowly building up my collection.

So for today's card I have used one of their stamps.

Ingredients

Stamp Set:  Conga Line

Medium:  Copic Markers

(Grey (Mice): C5, C3, C1, C00

Brown (Mice): E27, E57, E23, E55< E31, E51, E50

Pink (Mice):  R20

Blue/Green (Ribbon):  BG49, BG15, BG13

Red (Hat):  R35, RV14, RV13

Green (Hat):  G05, YG07, YG05

Yellow (Hat):  Y19, Y08, Y06)

Sentiment:  Included in stamp set

Card Stock:  X-Press It Blending Card, Pitch Black, American Crafts

Paper:  Black & White Stripes

Ink:  MFT Extreme Black

Other:  White Gelly Roll 08 Pen. Glossy Accents


Until next time

Melissa

xxxxx


Wednesday, April 27, 2022

Twinkle Littler Star - Light up with Chibitronics

 Hi Everyone,

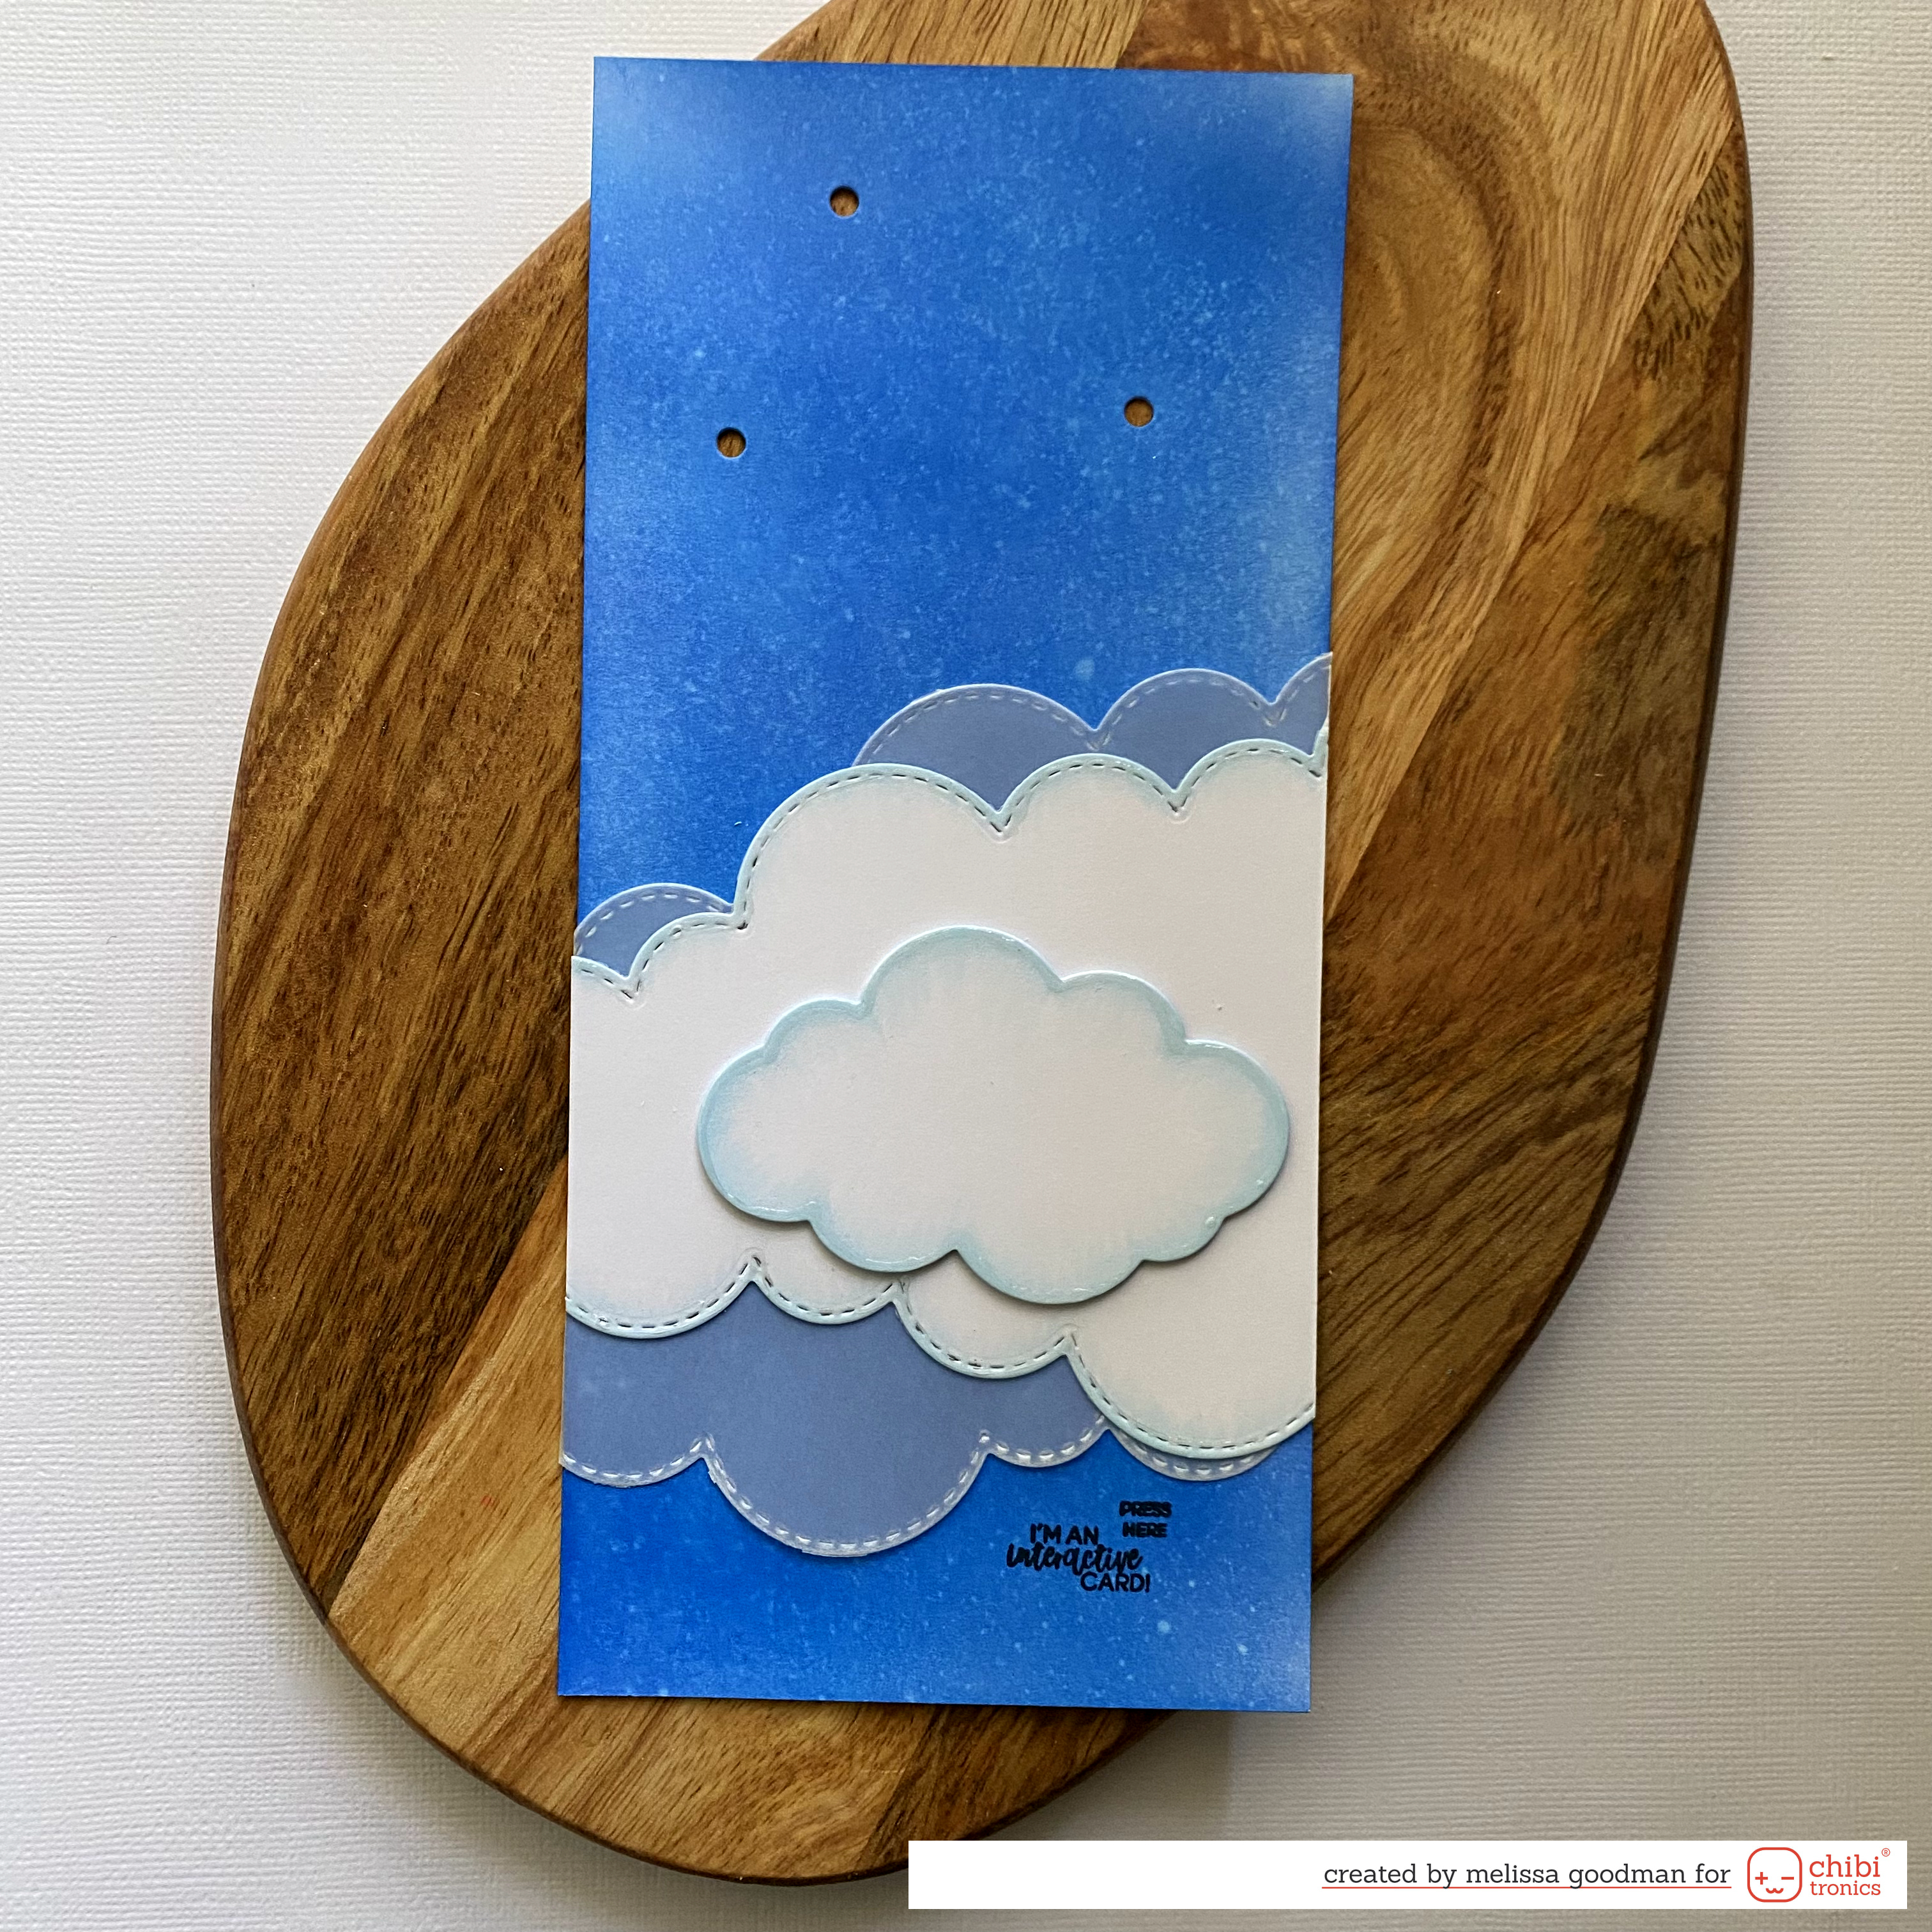
For today's card I have used a stamp set from Colorado Craft Company and have used LED Stickers and Fabric tape from Chibitronics to light up the star.


Ingredients

Stamp Set:  Twinkle Little Star

Medium:  Copic Markers

Electronics:  LED Stickers - White, Fabric Conductive Tape, 2025 Battery

Card Stock:  X-Press It Blending Card

Dies:  Landscape Trio, Clouds

Other:  White Gelly Roll 0.8 Pen, Liquid Sparkle, Glossy Accents


Method:

Firstly, I have stamped the images onto X-Press It Blending Card and coloured them with Copic Markers.  I added Liquid Sparkle to the stars and set them aside to dry.

I have also created created the background using Distress Oxide Ink (Salty Ocean & Blue Print Sketch) and different dies.

I have marked where I want the lights to go and cut holes for this.


2. Battery Holder


This card will measure 14x10cm once complete.

I have used the Silhouette Cameo to cut the layers for the battery holder.  I glue 8 of these together for a 2025 battery.

I have glued them together using liquid glue from Bearly Arts and allow them to dry completely before completing the card.

I put plain card stock on the back of this to finish the card.


3. Circuit

The circuit has been designed on the battery holder.

I have marked where the lights will go (from the card front).  I then mapped where I want the circuit to go in pencil.  This makes it easier for me to complete the circuit.


4. Completing the Circuit

The Circuit has been completed using the Fabric Conductive Tape and LED Stickers.

This card works by pressing the battery compartment and the light with shine under the stars.


5. Adhere card front

It is time to adhere the card front I prepared earlier to the battery compartment.

I have used double sided tape and liquid glue to do this.

The coloured images have been adhered using foam tape.


6. Let's light this card up!

This circuit uses a 2025 battery to power this card.

Just press on the battery compartment or the 'press here' and watch the stars light up!


I hope you have found this tutorial helpful.

Please do not hesitate to ask any questions.


Until next time

Melissa

xxxxx

Tuesday, January 25, 2022

Twinkle Little Star

 Hi Everyone,

For today's card I have used a stamp set from Colorado Craft Company.

A full tutorial for this card is available on my YouTube Channel. A link is on the side panel of my blog.

Ingredients

Stamp Set:  Twinkle Little Star

Medium:  Copic Markers

(Mouse: E47, E44, E43, E42, E41, R40, R20, 0)

Star:  Y19, Y08, Y06)

Die:  Slimline Nested Rectangles

Background:  Mini Clouds Stencil & Distress Oxide Ink (Salty Ocean)

Card Stock:  X-Press It Blending Card

Ink:  MFT Extreme Black

Other:  Liquid Sparkle, White Gel Roll 0.8, Glossy Accents


Here is a link to the video.


Until next time

Melissa

xxxxx

Thursday, August 12, 2021

Happy Days

 Hi Everyone,

For today's card I have used a stamp set from Colorado Craft Company.

Ingredients

Stamp Set:  Happy Days

Medium:  Copic Markers

Sentiment:  Included in stamp set

Card Stock:  X-Press It Blending Card

Other:  Arteza White Pen


Until next time

Melissa

xxxxx

Wednesday, July 21, 2021

Happy Day

 Hi Everyone,

Today I am sharing a card using Chibitronics LED Stickers and products.

This is my first blog post over on the Chibitronics Blog.

This card is super easy to make.

1. Create Card Front

Firstly I created the card front.  I have used a stamp set from Colorado Crafts called 'Happy Day' and coloured it with Copic Markers.

2. Circuit

I draw the circuit up on the base card so I know exactly where everything will go.

I will use the Chibitronics Conductive Fabric Tape to create the circuit.

3. Battery

Time to add the battery.  I have made a little holder for it so the battery can be changed easily when needed.

4.  Light

Time to stick down the Chibitronics White LED Sticker.

5. Battery Holder

This is just to show you how the battery can be slid in and out and changed easily.

6.  Finished Card

The card is finished.

I used foam tape to stick this card together.

7. Let's light it up!!!

To light this card up, simply press on the 'press here' spot.


Ingredients
Stamp Set:  Happy Day
Medium:  Copic Markers
Sentiment:  Included in stamp set
Card Stock:  X-Press It Blending Card, American Crafts


I hope you find this tutorial useful.
Until next time
Melissa
xxxxx


Saturday, June 19, 2021

Happy Days

 Hi Everyone,

For today's card I have used a stamp set from Colorado Craft Company.

I have also used a large paper clip.  I love this effect and so glad I was able to pick some up.

Ingredients

Stamp Set:  Happy Days

Medium:  Copic Markers

Sentiment:  Included in stamp set

Card Stock:  X-Press It Blending Card, Kraft Card

Paper:  Doodlebug Designs

Ink:  Premium Black Ink

Dies:  Stitched Rectangles & Mini Slim Scallop

Other:  Arteza White Gel Pen


Until next time

Melissa

xxxxx